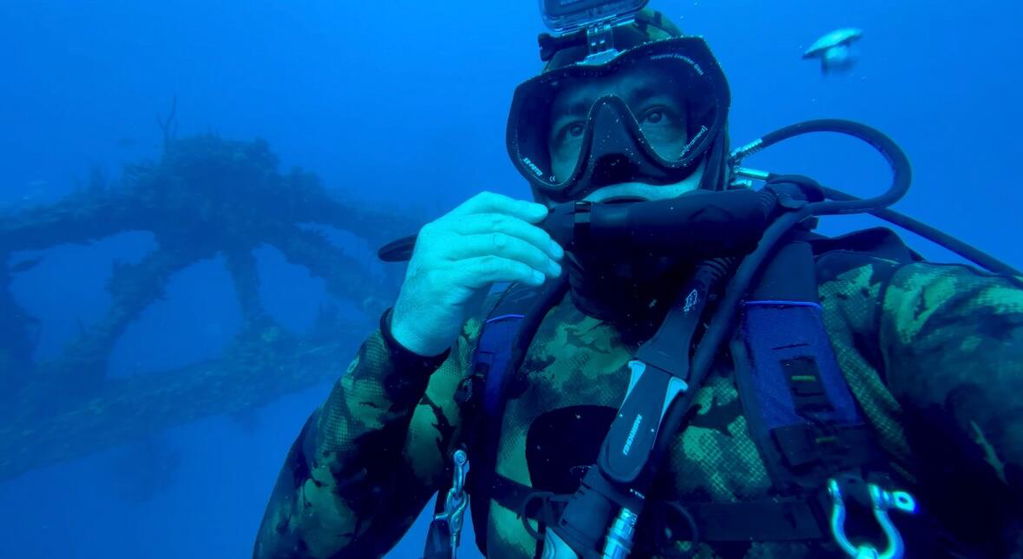
Almost every underwater photo I get sent for critique has the same problem, and it is rarely the one the photographer thinks it is. The image is not out of focus and the exposure is not wrong. It is covered in bright specks — a snowstorm of illuminated particles floating between the lens and the subject. That is backscatter, and it is the single most common reason an otherwise good underwater photo looks amateurish.
The fix is almost entirely about where your strobes are, not what they cost. I have shot with $200 flashes that produced clean images and watched divers with $1,500 strobes fill every frame with white dots. What follows is the positioning logic I use and teach, along with the specific adjustments for wide angle, macro, and the awkward situations where the water is simply not cooperating.
What backscatter actually is
Backscatter is light from your strobe reflecting off suspended particles in the water and bouncing back into your lens. Those particles — plankton, silt, sand, organic debris — are always there. You cannot see them with your eyes because ambient light hits them from above and they are not being lit from the camera's position. The moment you fire a strobe mounted near your lens axis, you illuminate every particle directly in front of you, and the camera records them as bright out-of-focus dots.
Two things follow from that, and they drive every technique in this article:
- The particles that ruin your shot are the ones between your lens and your subject. Particles behind the subject or off to the side do not matter.
- Backscatter is a geometry problem. If the cone of light from your strobe does not overlap the cone of water your lens is looking through, you cannot produce backscatter, regardless of how dirty the water is.
That is the whole game: separate the light path from the viewing path.
Rule one: get closer
Before touching a single arm clamp, shorten the distance between your lens and your subject. Every inch of water you remove is water that cannot hold particles, and it is water your strobe light does not have to travel through twice.
Practically, this means shooting wide-angle lenses far closer than feels natural. On a fisheye or a wet wide lens behind a dome, the subject should often be within a foot of the port — sometimes almost touching it. Divers who came from land photography consistently shoot from too far back, then try to solve the resulting backscatter with strobe angles. It does not work. No amount of clever positioning rescues a shot taken through six feet of particulate water.
Getting close also fixes color. Water absorbs red first, so the less water your strobe light crosses, the more of the original color reaches the sensor. Close distance is the one change that improves sharpness, color, and backscatter simultaneously.
Where to put your strobes
Once you are close, positioning does the rest. Think of your strobe not as a spotlight you aim at the subject, but as a cone of light whose edge you place on the subject.
Start wide and pulled back
Extend both strobes out to the sides of the housing, well away from the lens axis, and pull them back so the strobe heads sit no further forward than your housing handles. This is the standard starting position recommended by working underwater shooters, and it is the position most beginners never reach because their arms are too short to get there.
Pulling the heads behind the port matters more than most divers expect. A strobe sitting forward of the dome throws light directly across the column of water your lens is looking through. Move it behind the port and that light now crosses the frame diagonally, hitting the subject while missing most of the near-field particles.
Aim outward, not at the subject
This is the instruction that feels wrong and is nonetheless correct. Point the strobe heads straight forward or slightly outward — away from the centerline — rather than angling them in at the subject. Underwater strobes have very wide beams; the Sea & Sea YS-01 Solis and its TTL-only sibling the YS-03 Solis both put out roughly 100° × 100° of coverage. With a spread that wide, the outer edge of the beam still reaches your subject easily even when the bright center is aimed well past it.
The goal is to have the subject lit by the edge of the light cone while the hot center passes harmlessly outside the frame. When you get this right, the subject is properly exposed and the water in front of it stays dark. When you get it wrong — heads cranked inward, both beams converging in front of the port — you light every particle in the frame and there is nothing to be done in post.
Then adjust with power, not angle

Once the geometry is right, exposure should come from strobe power, not from re-aiming. Turning a strobe down by one or two stops frequently removes visible backscatter on its own, because the particles fall below the sensor's ability to record them while the closer, brighter subject stays correctly exposed.
This is a real argument for buying a strobe with manual control. The YS-01 Solis offers a ten-step manual dial in addition to DS-TTL II automatic metering, so you can dial exposure down deliberately when the water is dirty. TTL-only strobes will happily meter for the scene and give you a technically correct exposure full of white dots.
Your arms are probably the real problem

Every position described above assumes you can physically put the strobe where it needs to go. A great many divers cannot, because the strobe is mounted on a short flex arm or clipped directly to a cold shoe on top of the housing. A strobe sitting six inches above the lens is in the worst possible place: close to the lens axis, aimed at exactly the water you are shooting through.
If your images are full of backscatter and your strobe lives on top of the housing, the arm is the upgrade, not the strobe. What you need:
- Enough reach to get the head outboard of the housing. For a compact rig, a tray with a flex arm on each side is usually sufficient. The YS-03 Solis Universal Lighting System bundles the strobe with a compact flex arm and tray, which is a reasonable single-strobe starting point for most compact camera and housing combinations.
- Joints that hold position. A ball-and-clamp arm system locks where you put it. Friction-based flex arms drift under water resistance, which means the careful angle you set on the surface is not the angle you are shooting at three minutes into the dive. Standard 1-inch ball systems are interchangeable across brands, and a double ball joint clamp is the cheapest possible fix for a strobe that will not stay put.
- A reliable sync connection. Optical sync depends on a clean fiber-optic path from the housing's flash window to the strobe's sensor. A cracked or kinked cable produces intermittent misfires that look like strobe failure. Keep a spare fiber-optic cable in the camera bag on any trip that matters.
Browse camera arms, trays and connectors if you are building out a rig, or the full underwater strobes range if you are starting from scratch.
Positioning by shot type
The wide-and-back starting position is a default, not a law. Three common scenarios call for something different.
Wide angle and close-focus wide angle
For reef scenes, wrecks and close-focus wide angle work, push the strobes as wide as your arms allow and keep the heads behind the dome. Aim them outward enough that the beam centers cross well past the subject. The classic error here is dragging the strobes forward to "reach" a subject that is already inches from the port — the light does not need help reaching something that close, and moving forward guarantees backscatter.
When shooting upward toward the surface, be aware that the water column above you often holds more particulate than the water at reef level. Angling the strobes down slightly, so their beams are not sweeping up through that column, cleans up a lot of blue-water shots.
Macro and inward lighting
Macro flips the geometry. Because the subject is tiny and inches from the port, you can push the strobes forward of the port and turn them sharply inward, so the beams cross in front of the lens and only the edges catch the subject. Nothing behind the subject gets lit, which kills backscatter and produces the clean dark backgrounds macro shooters look for.
Removing diffusers helps here. A diffuser softens and widens the beam, which is useful for even wide-angle coverage but makes the beam edge harder to place precisely. Taking it off gives you a defined edge you can aim. For serious macro work, a snoot narrows the beam to a small circle, lighting the subject and nothing else — the most complete backscatter solution available, at the cost of a much harder aiming problem.
Silty water and shooting over the bottom
Some dives are simply dirty, and technique cannot manufacture clear water. In those conditions:
- Shoot upward rather than downward wherever possible. Downward shots put the strobe beam through the layer of suspended silt near the bottom.
- Reduce strobe power aggressively and accept a slightly darker subject.
- Watch your own trim. Fins dragging over sand create the particles you are then trying to avoid photographing. On a silty site, get in position first, settle, and shoot — do not approach and fire simultaneously.
- Consider shooting silhouettes or ambient-light images instead, which sidestep the problem entirely.
Focus lights and video lights
A focus light rarely causes backscatter in still photography because the strobe output overwhelms it during the exposure. Video is a different situation: a continuous light on the camera axis lights the particle field constantly, and there is no shutter speed trick to hide it. Video lights need the same treatment as strobes — mounted wide, pulled back, angled outward — and if you shoot both stills and video on the same rig, position for whichever you are prioritizing rather than compromising for both.
If you are still deciding between continuous lighting and flash, our comparison of video lights versus strobes covers the trade-offs in detail.
What editing can and cannot fix
Light backscatter — a handful of dots in open water — is removable. A healing or clone tool handles it in a minute, and several dedicated tools automate the process. It is tedious but reliable.
Heavy backscatter is not fixable. When the particles overlap the subject, sit against fine detail like coral polyps or a fish's eye, or number in the hundreds, removing them destroys the texture underneath. Treat editing as a way to clean up a good frame, never as a substitute for getting the lighting right. The five seconds you spend adjusting a strobe angle underwater saves an hour at a computer, and produces a better result.
A pre-dive check
Run this on the boat, before you get in:
- Arms extended and locked. Strobe heads outboard of the housing, no further forward than the handles.
- Heads aimed straight ahead or slightly outward. Not converging in front of the port.
- Clamps tight. Every ball joint firm enough that the arm holds position against a firm push.
- Sync path clean. Fiber-optic cables seated, undamaged, and clear of the housing's flash window.
- Power set low to start. Begin one or two stops down and raise it only if the subject is genuinely underexposed.
- Review at 100% on the first few frames. Backscatter is nearly invisible on a small rear screen at fit-to-screen magnification. Zoom in and check before you have shot the entire dive with the wrong geometry.
Frequently asked questions
Why do my underwater photos have white dots?
Those dots are suspended particles in the water lit by your strobe or video light. They appear when the light source sits close to the lens axis and illuminates the water directly in front of the port. Moving the strobes wider, pulling them behind the dome, and shooting closer to the subject eliminates most of them.
Should I point my underwater strobes at the subject?
No. Aim them straight forward or slightly outward and let the edge of the beam light the subject. Underwater strobes have beam angles around 100°, so the subject stays well within coverage even when the bright center is aimed past it. Aiming directly at the subject is the most common cause of backscatter.
Does turning strobe power down reduce backscatter?
Yes, often dramatically. At lower output the distant particles fall below the sensor's recording threshold while the much closer subject remains correctly exposed. This is one reason a strobe with manual power control is worth the extra cost over a TTL-only model in particulate-heavy water.
Do I need two strobes to avoid backscatter?
No. A single strobe positioned well produces cleaner images than two positioned badly, and single-strobe lighting gives more directional, dimensional results. A second strobe adds fill and evens out coverage on wide scenes, but it is a lighting-quality upgrade, not a backscatter fix.
Will a diffuser cause more backscatter?
It can. A diffuser widens the beam and softens its edge, which makes it harder to keep the light off the water directly in front of the lens. Diffusers are useful for even coverage on wide-angle scenes; for macro and for dirty water, removing them gives you a harder, more placeable beam edge.
The short version
Get closer than feels right. Push the strobes wide and pull the heads behind the port. Aim outward and light the subject with the edge of the beam rather than the center. Control exposure with power instead of angle, and start low. Then zoom in on your first few frames and confirm it is working before the dive gets away from you.
None of this requires a bigger strobe. It requires arms long enough to put the light where it belongs and the discipline to check your geometry before you shoot. Browse underwater strobes, arms and trays, and the full underwater photography range at DiveCatalog.